DIY Timber Garden Bench
04 June 2018
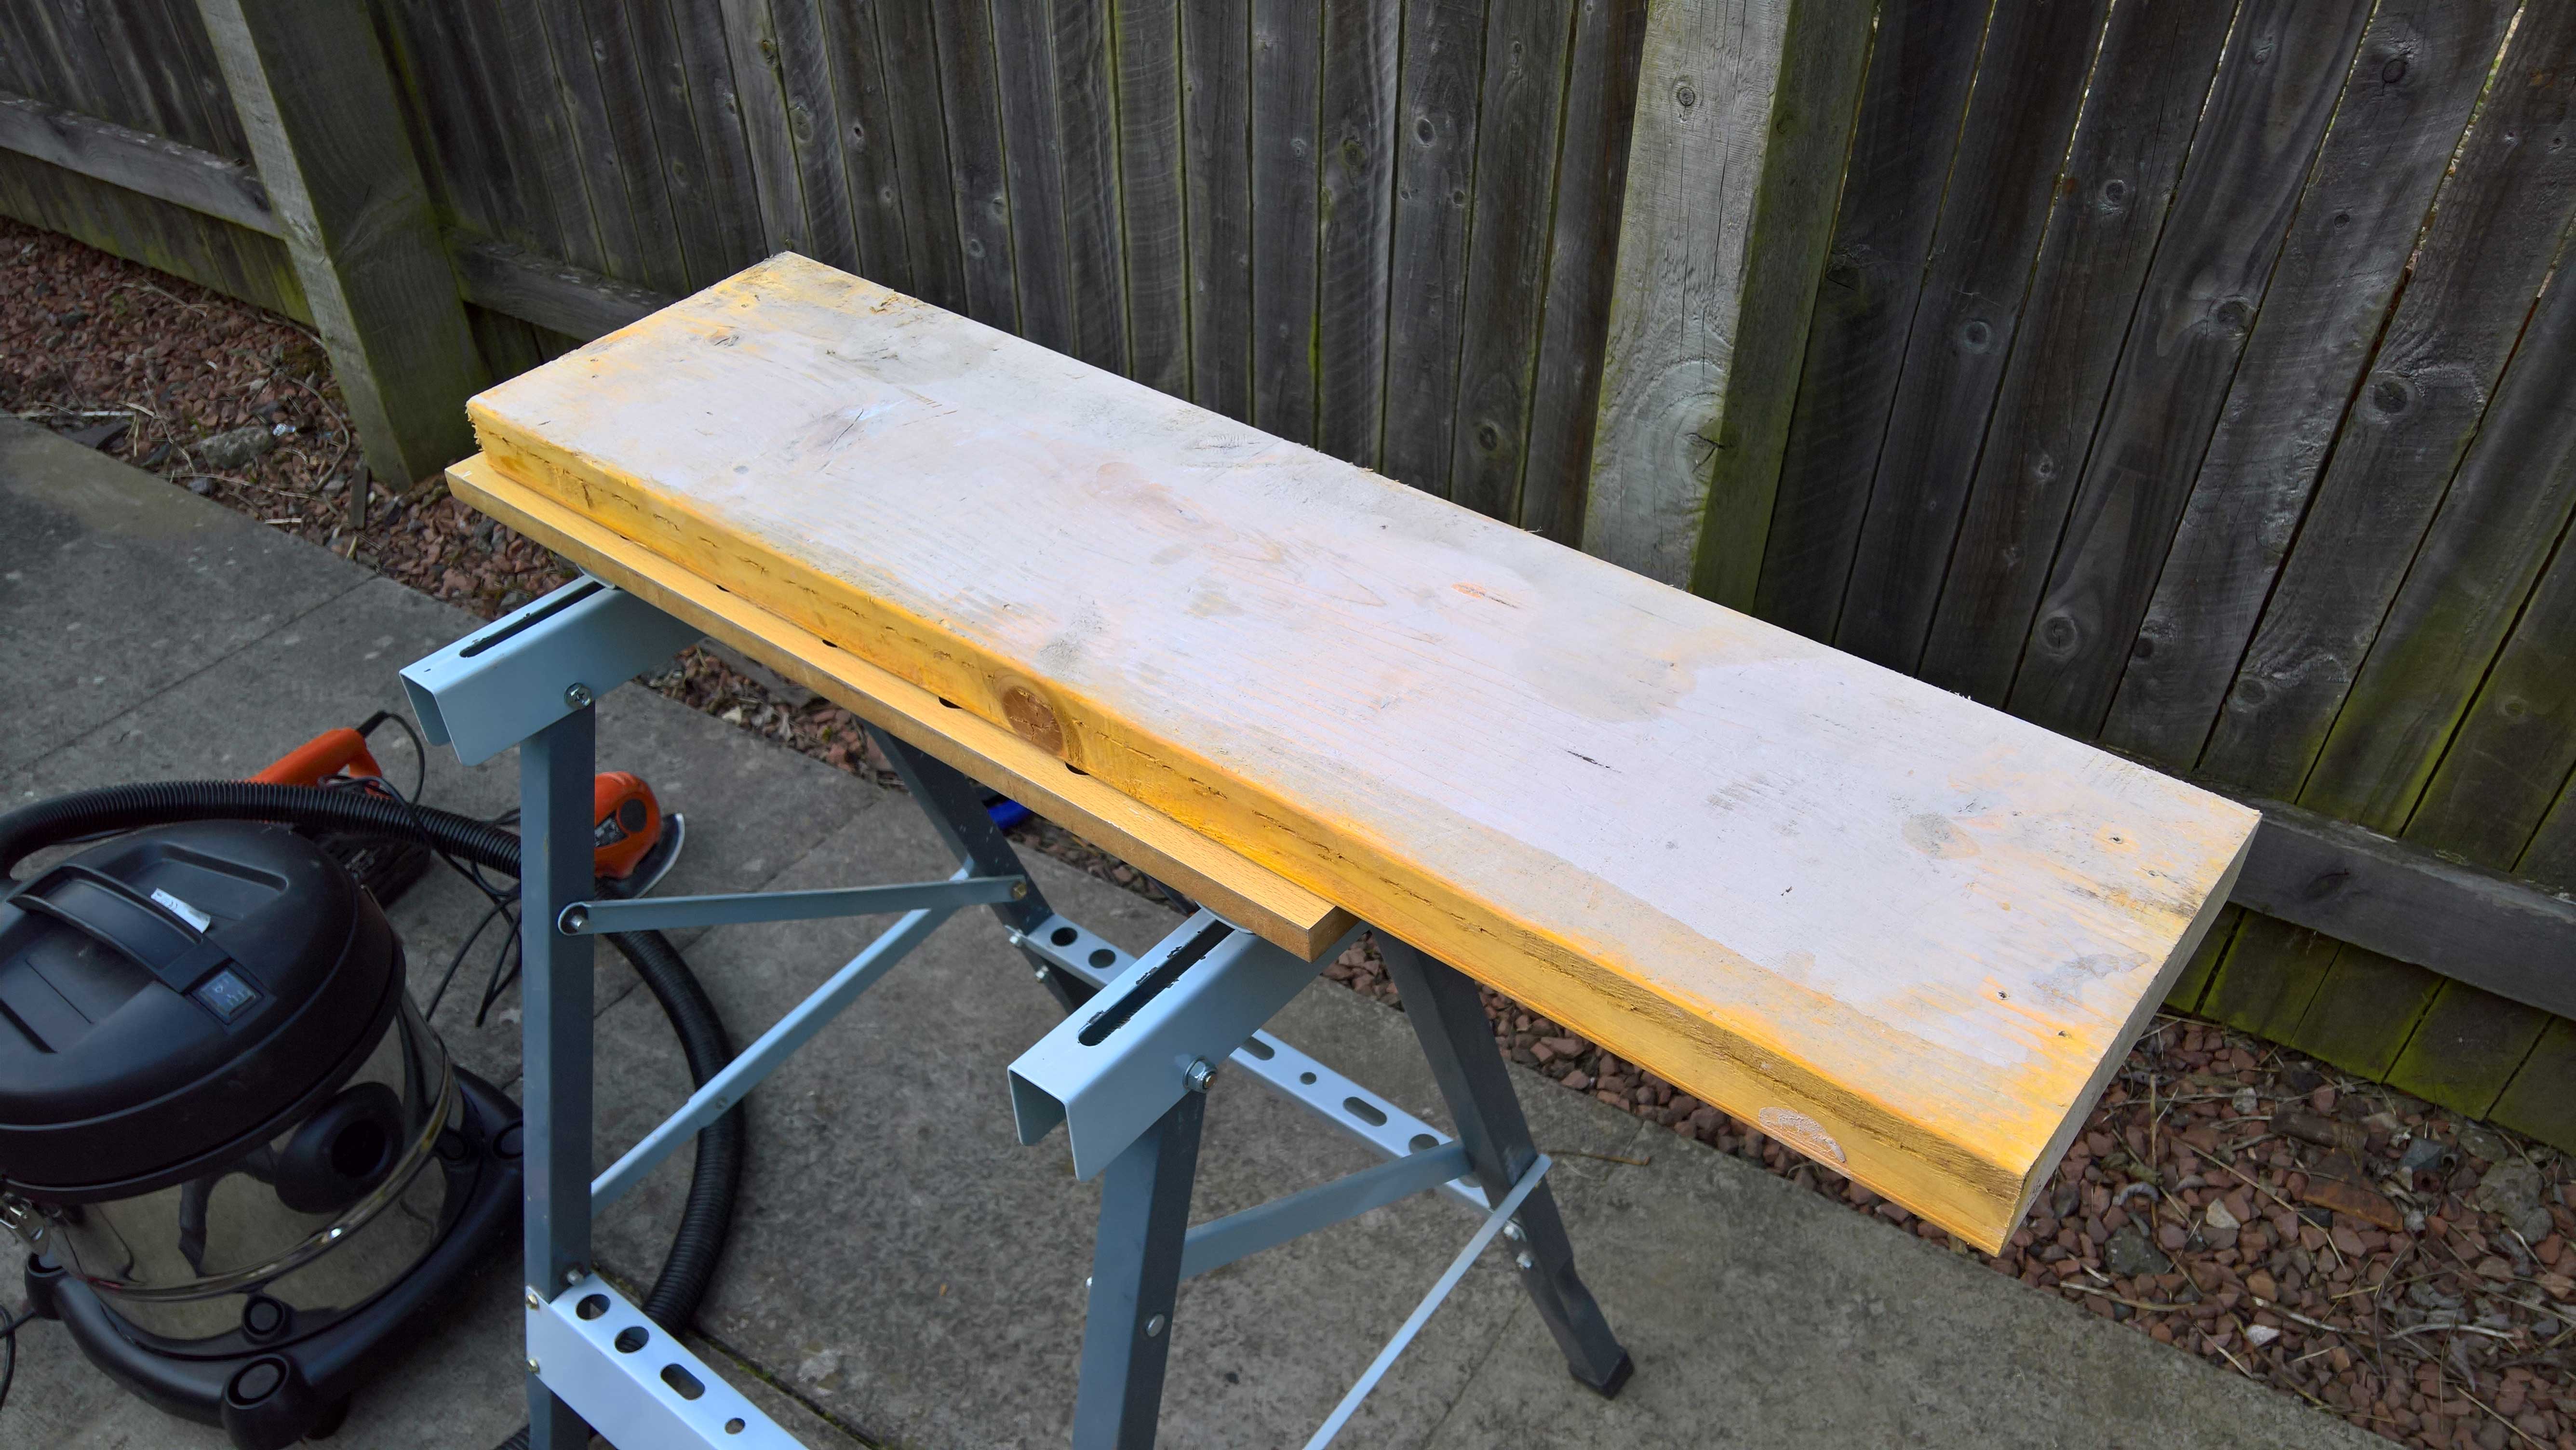
Immy pulled these two bits of scrap throwaway wood from a builder's skip and I decided the best use for them was a small bench for the front of the house to catch the morning light while me and Immy drink our morning coffees.
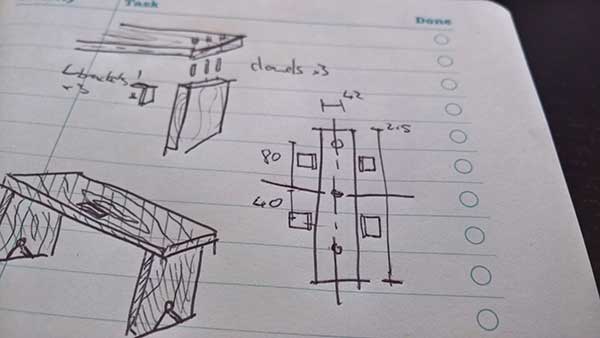
A quick sketch can help visualize your project and catch any potential problems during the design stage. The design had to be compact enough to fit our very small patch of gravel at the front but just wide and deep enough to fit two people sitting.
The first step was to sand them down to clear the grime and find out if the wood was salvageable. The timber cleaned up well with a nice grain visible after a quick blast of the belt sander removed all the concrete dust and revealed a nice bit of wood!

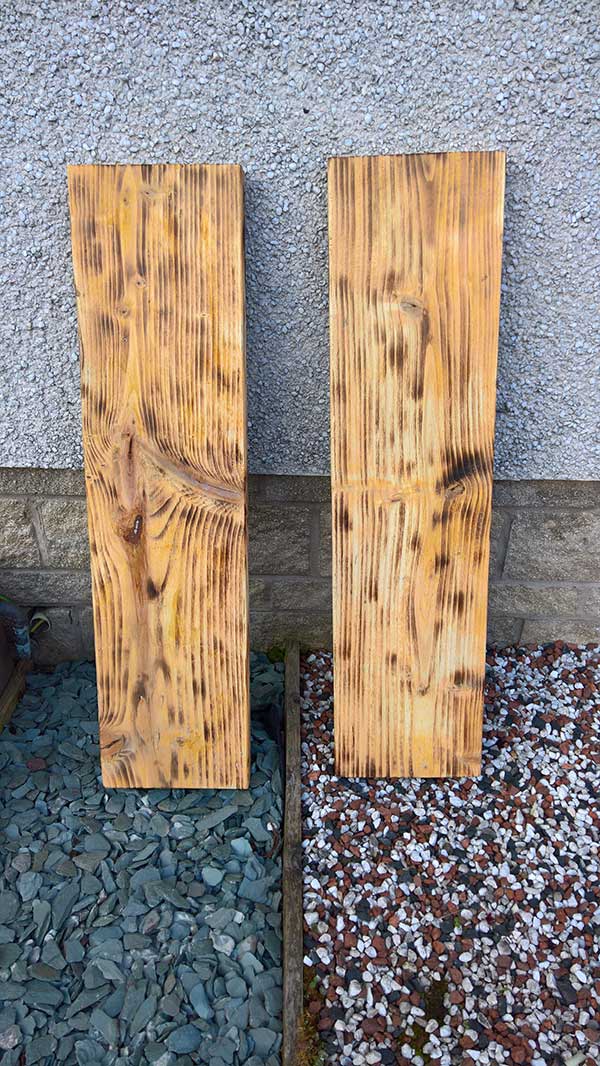
I decided to use a blowtorch to scorch the wood to make the most of the grain and give it a more "antique" weathered look.
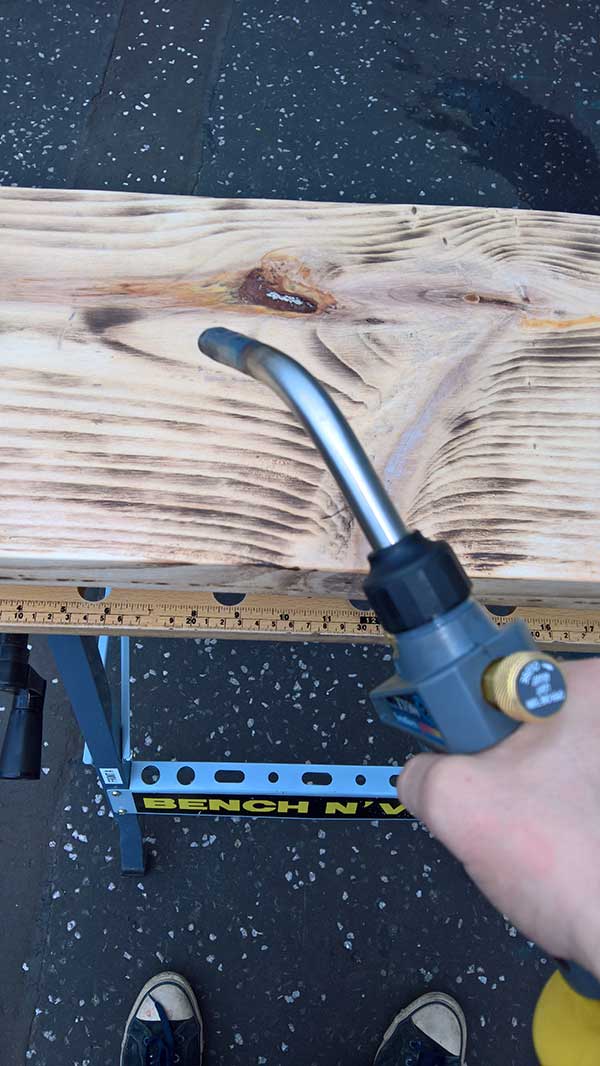
I used a low heat to avoid patches of scorching. The movement was kin to spray painting with, smooth sweeping movements, using the speed of movement to control the level of scorching. It was almost as though you were "revealing" the grain with each sweep. It brought out all sorts of amazing patterns and features in the wood, especially around the knots as the sap sizzled.
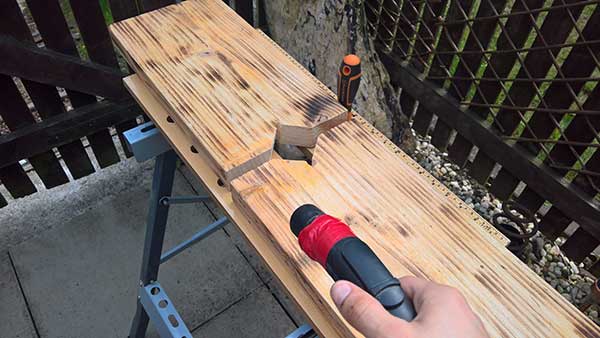
After scorching I used a circular saw to cut one of my lengths in half to make the legs, and used a drill and handsaw to cut a bevel detail into the base of each legs for visual interest. It's important to note before this which side of the timber is going to be your favoured outwards facing piece for each side.
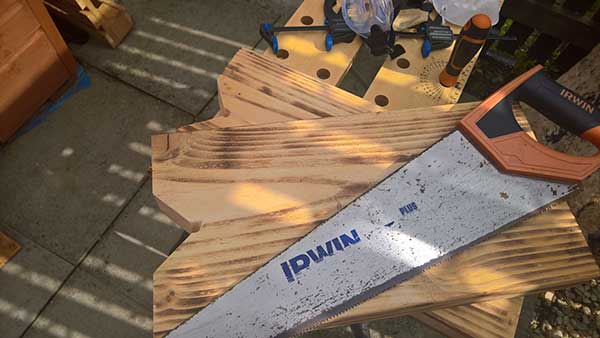
I finished the detail by sanding and filing to give the edges and corners a nice curve. Using a hoover to collect excess dust while cutting and sanding saves on cleanup later and avoids getting saw dust in your eyes and throat.
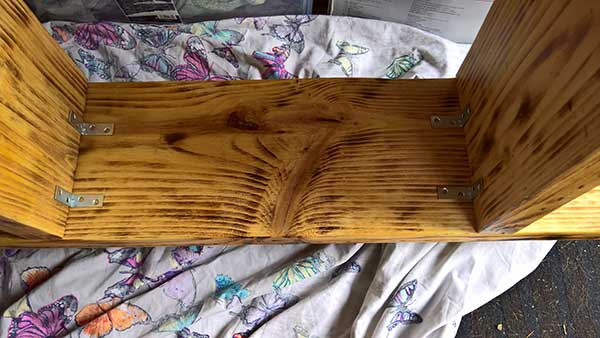
I then oiled with several light coats with danish oil to waterproof and colour the wood. The timber was really starting to look special now.
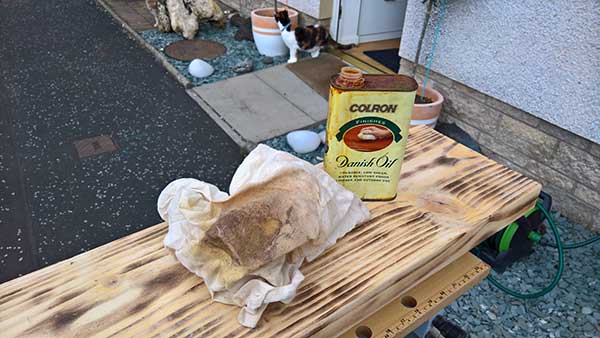
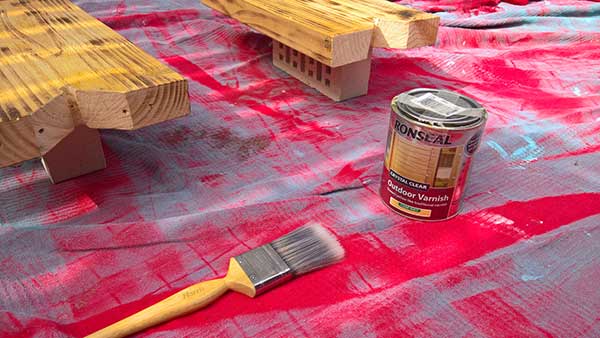
After that I also varnished with 3 thin coats of outdoor clear varnish to protect the wood.
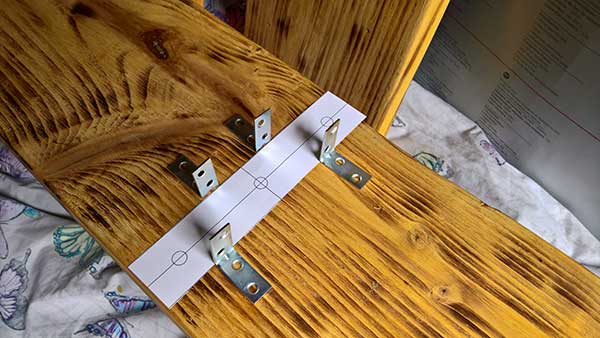
The legs will be fixed to the bench top via 3 wooden dowels, along with two steel L brackets to stop rotation. I planned the spacing of the dowels and L brackets carefully to avoid too many penetrations to the wood in any one area. The legs have been positioned to be directly underneath the weight of the person sitting on the bench, ensuring that all forces act down through the legs, and support the top without being off balance.
A paper template for drilling the pilot holes for the wooden dowels can save a lot of measuring and ensures that every hole is exactly right.
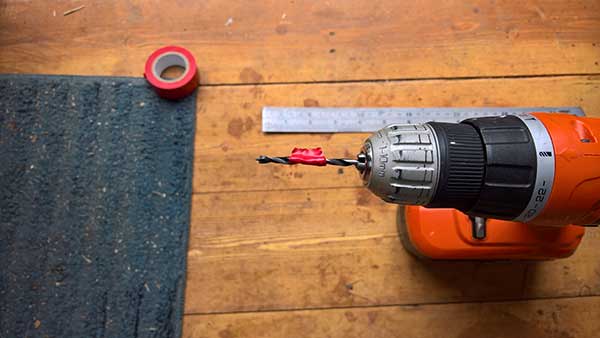
I used tape on the drill bit to ensure each hole went to the right depth, so as not to punch right through the wood.
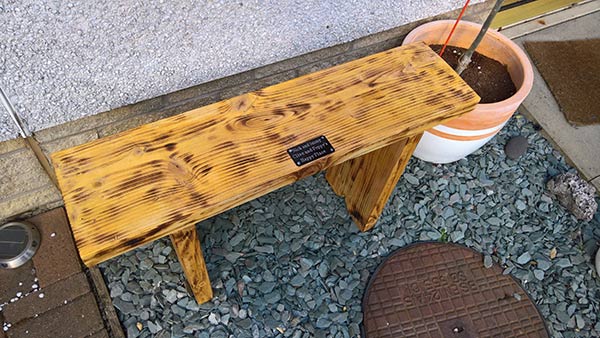
I inserted dowels and fixed the L brackets, to fix each leg to the bench. As a final touch I ordered a personalized metal plaque from ebay to finish the bench
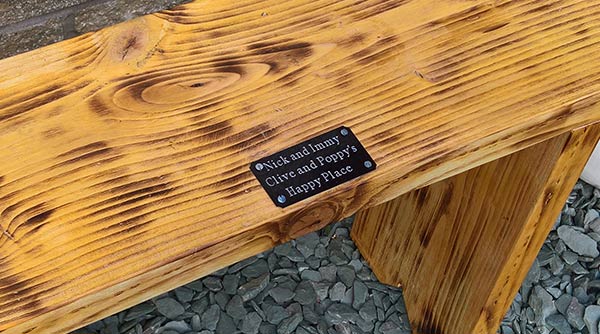
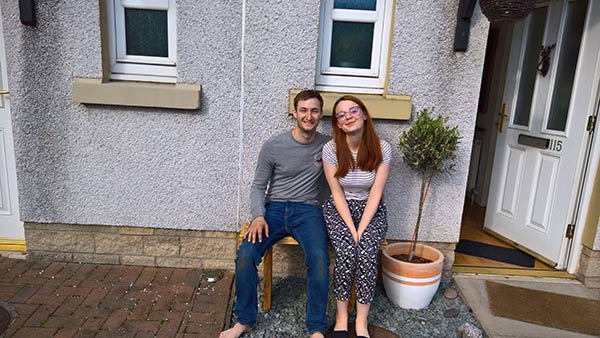
The finished result: a simple rustic timber bench which fits perfectly into our little space at the front of the house.
Just in time to catch a bit of the summer sun!
Are you looking to refurbish or revamp your home? Get in touch with Richard Robb Architects and we can help guide you through your project!
Contact UsTo follow this series you can subscribe to our newsletter "the Ground Floor" using the link below.
Join the Ground Floor Newsletter